
Hot Tub Leak Repair: Step-by-Step Guide to Find & Fix Leaks
Most spa leaks aren't where the water shows up. Here's how technicians find the actual source — and what each repair costs in 2026.
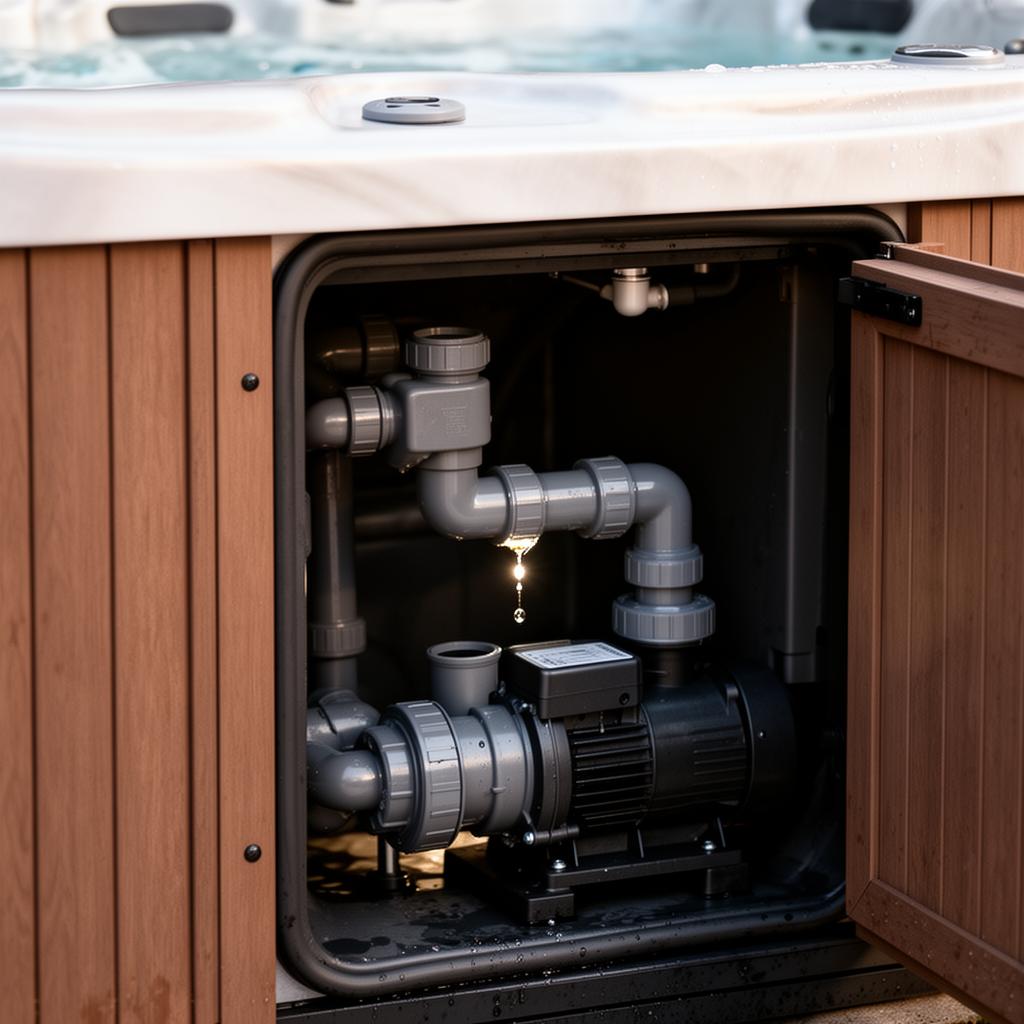
A hot tub holds 300–500 gallons under constant pressure when the pumps are running, with dozens of fittings and seals working together to keep that water inside the plumbing loop. When even one of those seals fails, gravity does the rest — and the water you see on the pad is almost never directly below the actual leak.
This guide walks through the same process working spa technicians use to track down and repair leaks, ordered from cheapest to most expensive.
Step 1: Confirm it's actually leaking
A surprising number of "leaks" turn out to be one of these:
- Splash-out from heavy use or kids
- Evaporation of 1–2 inches per week in dry climates
- Cover condensation dripping back onto the cabinet
- Auto-fill malfunction that's actually working correctly
To rule these out: mark the waterline with tape, leave the cover on, and check it in 24 hours. Losing more than 1 inch per day with the cover closed is a real leak.
Step 2: Determine when the leak happens
Run the spa through a full cycle and watch:
- Leaks only when pumps run: the leak is in the pressure side — usually fittings after a pump, jet bodies, or the heater manifold.
- Leaks only when pumps are off: the leak is below the waterline — usually a cracked shell, a failed jet seal, or a drain valve.
- Leaks constantly, faster with pumps on: the leak is below the waterline AND on the pressure side — usually the heater housing or a union.
That single observation eliminates 80% of possibilities.
Step 3: Open the equipment bay and look
Power off at the GFCI. Pull the access panel and inspect every visible component with a flashlight. You're looking for:
- Active drips at unions, fittings, the heater, or the pump face seal
- Mineral or chemical residue trails (these show old, intermittent leaks)
- Damp or saturated insulation foam below any component
- Water pooling on the ABS base pan below the spa
The pump face seal is the single most common leak point in spas more than 5 years old.
Step 4: Add leak-detection dye
If you can't see the leak visually, food-coloring or commercial spa leak dye works:
- Turn off all pumps and let the water still completely (~10 minutes).
- Squirt dye near each suspect fitting, jet, and the shell skimmer.
- Watch for the dye to get drawn into a crack or fitting — that's your leak.
A diver's mask can help inspect underwater jets if you're willing to get in.
Step 5: Identify the leak source and choose a fix
Union fitting leak ($25–$80 DIY, $120–$200 professional)
Most common, easiest fix. The pump-side union has an O-ring inside that flattens or cracks over time.
Fix: Power off, drain below the union, unscrew the union nut, replace the O-ring, hand-tighten plus 1/4 turn. Overtightening is what cracks union housings.
Pump face seal leak ($60–$120 parts, $250–$400 installed)
The mechanical seal between the wet end and the motor shaft. Water dripping from the bottom front of the pump is almost always this seal.
Fix: Pump removal, seal replacement, reinstall. Not difficult but messy. A DIY job for the patient; a 60-minute job for a pro.
Heater manifold or pressure switch leak ($150–$280 installed)
Heaters develop drips at the pressure switch port, the threaded element collar, or the housing itself if it's been over-tightened.
Fix: Replace the leaking component. If the housing itself is cracked, replace the full heater assembly.
Jet body leak ($80–$200 per jet installed)
Jet inserts thread into bodies bonded to the shell. Over years, the bonding can fail or the threads can split.
Fix: Replace the jet body from inside the equipment bay (some spas) or from the inside of the shell (others). The shell-side fix is more invasive but cleaner.
Drain valve leak ($30–$80 installed)
The drain valve is a sealed twist or pull mechanism. Replacement is straightforward.
Skimmer or weir leak ($60–$150 installed)
Skimmer baskets bond to the shell. A crack in the skimmer flange can leak water above the equipment bay.
Cracked shell ($400–$1,500 installed)
The most expensive. Acrylic + fiberglass shells can be repaired if the crack is accessible and hasn't fully delaminated. Above a certain size, replacement is the only honest option.
Common DIY mistakes to avoid
- Overtightening unions. Hand-tight plus 1/8–1/4 turn maximum. Wrench-tight cracks the housing.
- Reusing O-rings. They cost $1 each; always swap them.
- Using thread sealant on union threads. Unions seal on the O-ring, not the threads. Sealant prevents the O-ring from compressing properly.
- Putty as a "leak fix." Spa putty is for unbonded surfaces, not pressure-side plumbing.
When the foam has soaked up the water
If the spa cabinet feels heavier than it used to, lift one corner and listen for sloshing — saturated foam adds 100–300 pounds and chronic moisture in the cabinet.
This is when you need a pro: locating leaks inside foam-filled spas requires cutting access channels carefully to avoid making it worse. Foam saturation also accelerates every other component failure (electrical corrosion, control board damage, board terminal rust).
When repair stops making sense
A spa with a leaking shell, saturated foam, and a control pack that's also showing its age is approaching its end of life. We'll always tell you honestly when chasing one more leak doesn't pencil out — see our repair vs. replace guide for the framework we use.
Get a free leak diagnostic
We carry leak-detection equipment on every truck — pressure testers, dye kits, listening devices — and most leaks are found and quoted on the first visit. Dispatch 24/7, flat-rate diagnostic, written quote before any work.