
How to Winterize a Hot Tub: The Complete Drain-Down Guide for 2026
If you're leaving a hot tub unheated through winter, a proper winterization is the difference between a spring startup and a $2,000 freeze-damage repair.
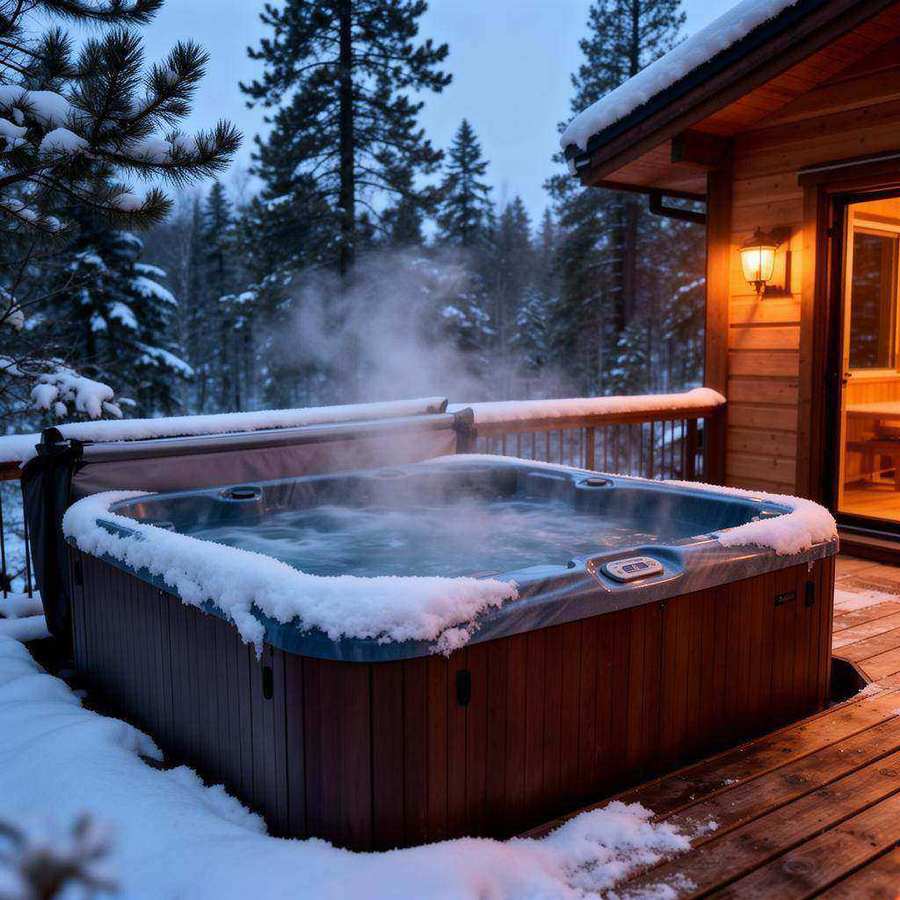
A hot tub left full and unheated through a freezing winter is one of the most expensive mistakes in spa ownership. Ice expands roughly 9% by volume, and that expansion inside a sealed plumbing loop is more than enough to crack pump housings, split heater manifolds, blow apart jet bodies, and burst PVC unions. We see at least a dozen of these every spring — and most of them are $1,500 to $3,000 repairs that a $0 weekend project would have prevented.
This guide is the same step-by-step process our technicians follow when a customer asks us to winterize a spa for a seasonal property or extended absence.
When to actually winterize
You only need a full winterization if:
- The spa will be unheated for more than 2 weeks in a climate where temps will drop below 32°F
- You're losing reliable utility power (e.g., a cabin or seasonal home)
- The spa is being moved or stored
If the spa stays powered and heated, it's actually safer to leave it running all winter — the circulation pump and freeze-protection logic in the control pack will keep everything safe down to roughly -10°F, even with brief power blips.
Tools you'll need
- Wet/dry shop vacuum with reverse-blow capability (or a small air compressor)
- Submersible drain pump (optional but speeds things up)
- Garden hose
- Spa-safe antifreeze (propylene glycol — never use automotive ethylene glycol)
- A bucket and absorbent rags
- Spa pillows removal (they degrade in cold weather)
Step 1: Turn the spa off at the breaker
Open the disconnect box, flip the GFCI breaker to OFF, and verify the topside display is dark. Never drain a spa with power on — if the pump dry-fires, you'll cook the seal in 60 seconds.
Step 2: Remove the filter and any cartridges
Pull the filter cartridges, rinse them thoroughly, let them dry completely, and store them indoors. A wet filter that freezes will split its end caps.
Step 3: Drain the spa
Open the drain valve and let gravity do the first 80–90%. Use a submersible pump or a wet/dry vac to remove the last few gallons from the footwell. The shell should be visually empty.
Step 4: Blow out every line
This is the step most DIYers skip — and it's the step that prevents 95% of freeze damage.
For each pump, jet group, and the heater:
- Open the union on the suction side of the pump.
- Insert the shop vac hose (set to blow) or a low-pressure air compressor at 15–25 PSI.
- Run air through each jet group until no more water spits out of the jet faces.
- Move to the next group and repeat.
Hit every jet, the heater, the ozonator return, the circulation pump, and the air injectors. Don't forget the waterfall, light niche, and skimmer return.
Step 5: Vacuum the equipment bay
Open the equipment access door. Use the shop vac to suck residual water out of:
- The pump wet ends (open the unions and vac through)
- The heater housing
- Any low points in the plumbing where water pooled
If you can see standing water anywhere, it can freeze and crack the part.
Step 6: Add propylene glycol to traps
Pour 1–2 gallons of spa-safe propylene glycol (the same antifreeze used for RVs and boats) into:
- The footwell drain
- The skimmer basket
- Each pump wet end through the open union
Briefly close each union to let the antifreeze sit in the low points. The PG depresses the freezing point of any trace water you couldn't blow out and prevents that water from forming damaging ice crystals.
Do not use automotive ethylene glycol — it's toxic and a single-fill spa cannot be flushed clean enough to be safe to use afterward.
Step 7: Loosen all unions
Once antifreeze is in, back off each union by a quarter turn. This gives any residual water somewhere to push if it does freeze, instead of cracking the housing.
Step 8: Disconnect and store removable parts
- Spa pillows: UV and cold weather kills them — store indoors
- Topside control panel: if removable, store dry
- Cover: drain any water from the foam core, store on edge inside if possible
Step 9: Cover the spa
Put the spa cover on, secure it with cover locks, and add a heavy tarp on top for extra insulation. Strap the tarp down — winter wind has destroyed more covers than ice ever has.
Step 10: Document and plan
Take photos of:
- Which unions you loosened
- Where you added antifreeze
- Any parts you removed
This becomes your spring-startup checklist when it's time to re-commission the spa.
What to do if you forgot
If the spa is already frozen, do not try to thaw it with a torch, salt, or boiling water. Each of those can crack the shell or warp components.
- Get power restored if it's safe to do so (no visible electrical damage)
- Let the spa thaw naturally — it can take 3–7 days
- Before energizing pumps, hand-test each one for free rotation
- Inspect every union for ice crack
- Run the spa for 30 minutes with the cover off, watching for new leaks
If you see any cracks, leaks, or burned smells, stop and call a pro before you make it worse.
Spring startup
When you're ready to re-commission:
- Reverse step 7: hand-tighten all unions plus 1/4 turn
- Flush the lines with a spa line flush product
- Drain that flush water
- Refill with fresh water
- Restore power, prime the pump, balance chemistry
A typical re-startup takes about 2 hours plus 24 hours for heating.
Want it done for you?
We winterize seasonal spas in October–November for a flat rate that includes drain, line-blow, antifreeze treatment, and a written checklist for your spring startup. Call dispatch and we'll book you in before freeze season.